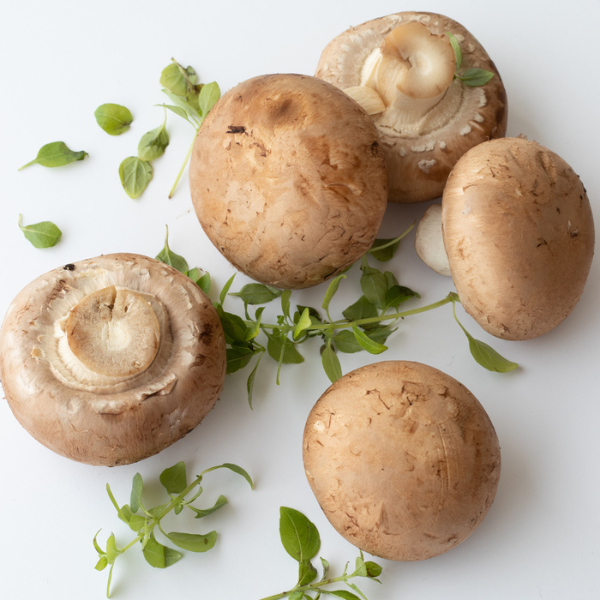
The Chestnut Fungus is a magnificent clustering mushroom that adores wood. It is a close relation of the slimy-capped Nameko Mushroom, which is scientifically known as Pholiota microspora. They grow in clusters that are rather dense and produce gorgeous mushrooms with shaggy caps and orange gills.
Within their natural region, they are a saprophytic and weakly parasitic species that grow on the living and dead stems of beech trees. This gives them a symbiotic relationship with the host tree. Once they have begun to pin, they take a little bit more time to mature since they prefer temperatures that are a little bit lower.
Anticipate harvesting between 7 and 10 days after the formation of the primordia (pins). As they start to fruit from infant primordia, these mushrooms normally take between two and three weeks to fully mature since they thrive best in lower temperatures.
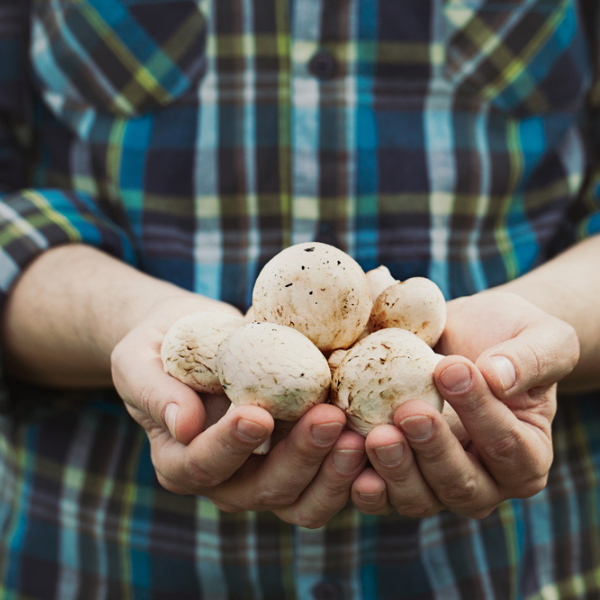
This mushroom is simple to cultivate and can produce fruit anywhere from twice to three times over the course of several weeks. The entire mushroom can be consumed, excluding the very base of the cluster, where it adheres, which has a rather stringy consistency. Pick these young while they are still growing for the most sensitive texture before they cease.
Chestnut Mushroom Growing Conditions
Wild mushrooms require a relatively narrow range of environmental factors in order to flourish. The goal is to create an environment that is identical to the one being studied while maintaining as much control as possible over the variables. They are unable to develop at all in conditions when there is an excessive amount of light, insufficient humidity, or high temperatures.
In the same vein, if the environmental circumstances alter at any point during the growth cycle of the mushroom, the entire endeavor to cultivate mushrooms will be unsuccessful. Therefore, keep all of these in mind before beginning the project. These fungi are capable of growing on both living and dead wood, which is one of the many fascinating characteristics that they possess.
They are both parasitic and saprophytic as a result of this, despite the fact that you will most commonly see them growing on living beech trees. Because chestnut mushrooms thrive best in cooler climates, their mycelium can occasionally develop at a more leisurely pace, even when grown on an agar plate.
To tell you the truth, my search on the internet for information on how to cultivate chestnut mushrooms didn't turn up much information on this emerging species. If you've grown them in a different way or have some ways that have been tried, tested, and proven, get in touch with us!
How To Grow Chestnut Mushrooms
- Step 1: extract the cotton wool plug that was covering the hole in the grow stick, and then pour some water into the space that was left behind. After some time has passed, you will be able to pour it out.
- Step 2: Make a cut in the plastic wherever you want it to open (for help, see the next step). Cutting a "X" shape is the most effective method since it will keep your pins somewhat covered and, as a result, will maintain an environment with an adequate amount of humidity. You can also choose to tear the plastic completely away and reveal the mycelium in this way; however, you should make sure that the region that is exposed receives an adequate amount of moisture.
- Step 3 (Optional): Before putting the perlite to the fruiting chamber, put it through a filter or a colander and wash it with some cold water. After it has been placed within the chamber, you can even add a small amount of additional water to ensure that it is completely saturated.
- Step 4: To protect your fruiting chamber from any potential contamination, wash it down with some soap and water, thoroughly rinse it, and then set it aside to air dry.
- Step 5: Insert the grow stick into the fruiting chamber that you have selected. Be sure that your fruiting site is arranged in such a way that the growth of your mushrooms will not be hampered in any way by any component of the fruiting chamber, and that they are situated so that they are in close proximity to the water or the wet perlite as is practicable.
- Step 6: Spray your grow stick with a fine mist from a distance of about 30 centimeters using a spray bottle. Your mushrooms just need to be sprayed with water anywhere from two to four times per day. It should be plenty to mist your face before work, when you get home, and right before night, but if you have extra time while you're at home, it wouldn't hurt to do it again.
Care & Maintenance
Growing chestnut mushrooms can be challenging; you should exercise as much patience as you can with the process. If after about a week you still haven't seen any pins developing, you should try cutting a new fruiting spot or transferring your plant to a different home inside the same room.
The cultivation of mushrooms is a challenging endeavor; do not give up if at first you are unsuccessful in achieving the desired results. Instead of spraying the mushrooms directly, you should make an effort to guide the mist so that it goes over the grow stick and the perlite. It is not a problem if the mushrooms get a little damp; nevertheless, you should keep in mind that the purpose of misting is to keep the atmosphere around them moist.
If the perlite appears to be dry, you can rehydrate it with your mister, and if you feel the need to add extra moisture to the perlite at any point, don't be hesitant to do so.
Harvesting Chestnut Mushrooms
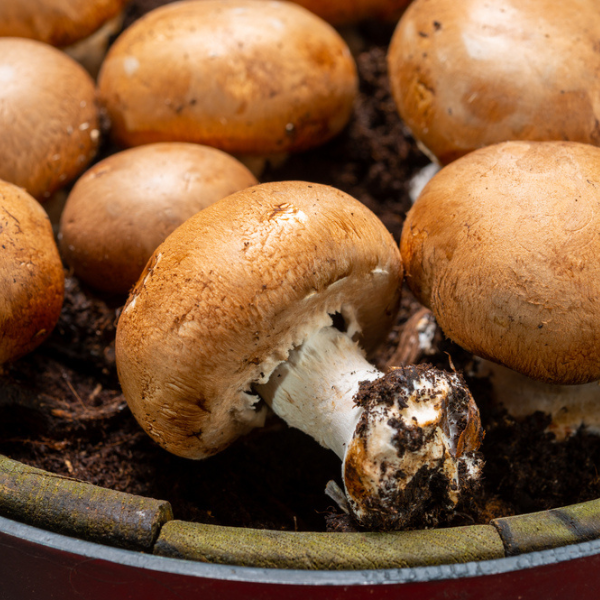
Just after pinheads have formed, it should take around a week until your mushrooms are ready to eat. To collect the matured chestnut mushrooms, carefully twist or peel them from the substrate they're growing on to separate them. Take care not to pull off too much soil, as this could prevent other mushrooms from growing from the soil.
You still have a week or two until the new crop is ready to be harvested, but it won't be long now. As you use up more of the substrate, the succeeding harvests will continue to produce less fruits and vegetables. At that time, you will have to either make a new spawn or invest in a new growth kit in order to continue.