Building Greenhouse End Walls

Building Greenhouse End Walls

The most obvious  reason to build a greenhouse   is to grow plants and crops all year round. Greenhouses are an excellent way to keep all your gardening-related items close to your crops. You won't need to build a shed for tools.


But do you know how to put a greenhouse together? There's a lot that goes into building a greenhouse. This article will construct one part of a greenhouse -the greenhouse end walls. 

It's easy to get stuck on the greenhouse end wall design. The end wall must be strong enough to help support the rest of the structure and open and close without issue. 

If you build your greenhouse correctly, it should provide you with a lovely space to grow your crops all year. Read on to learn about different greenhouses, what end walls are and how to build a greenhouse end wall.

Hoop Houses Vs. Greenhouses

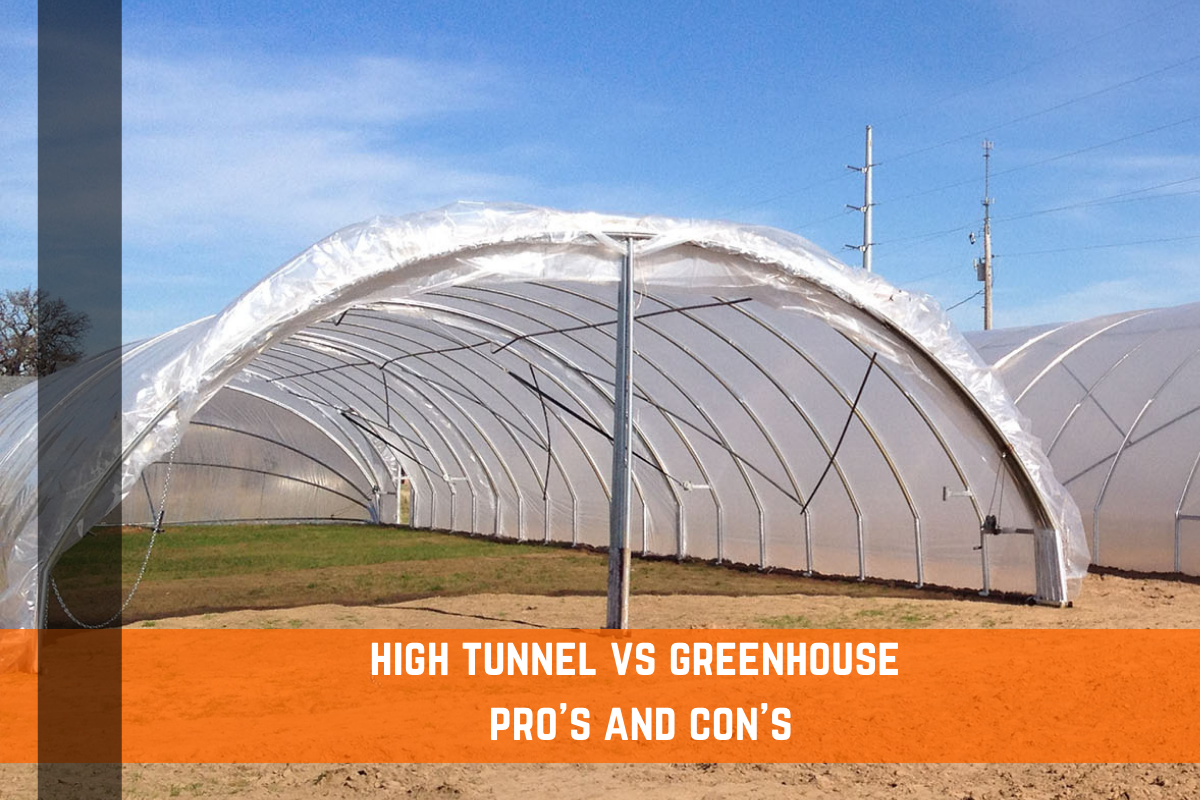
There are various kinds of greenhouses out there. Technically, what we're discussing in this article isn't a greenhouse but a hoop house. We will take a quick minute to differentiate between the two structures. 

Hoop Houses

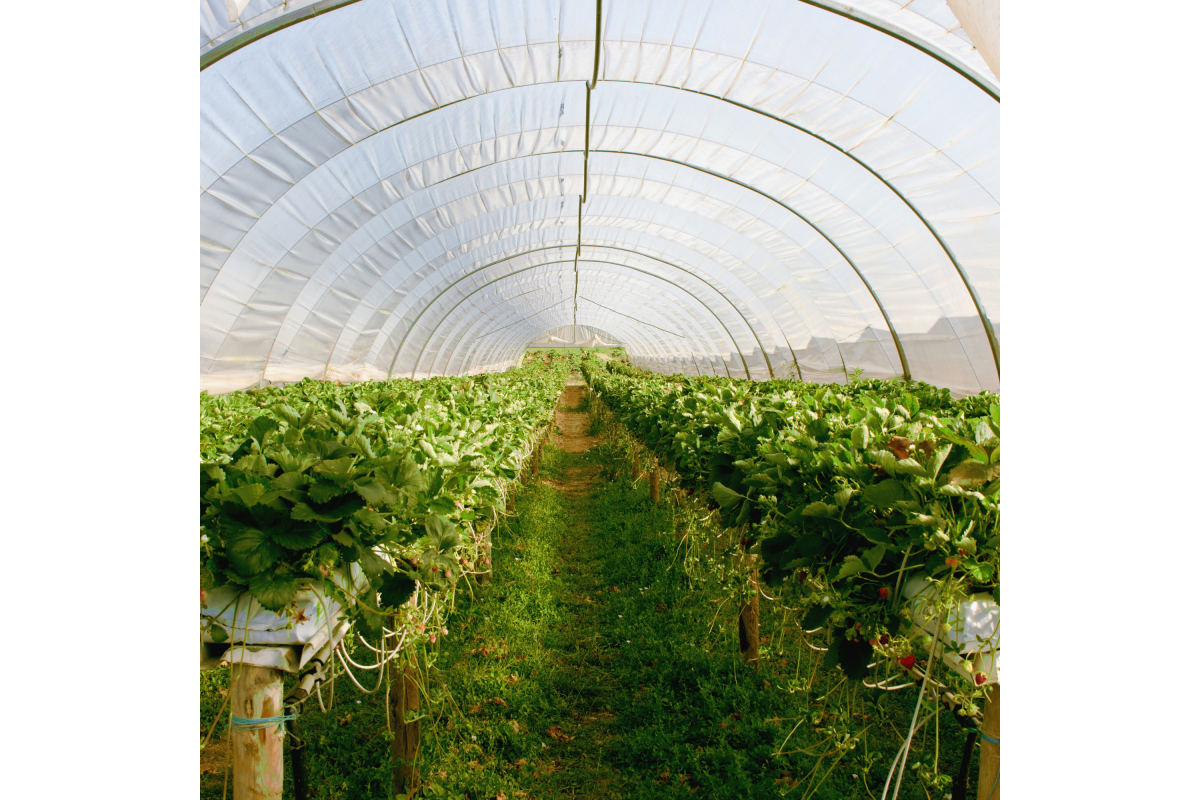
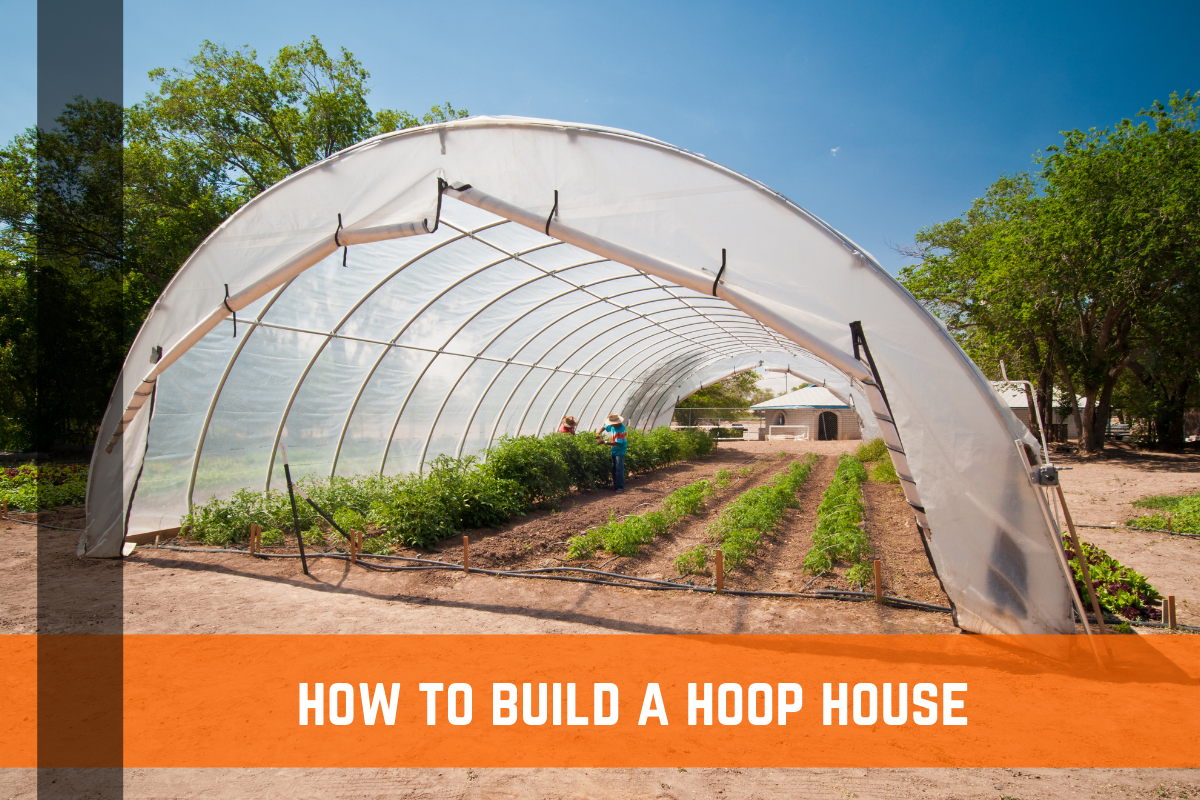
Hoop houses are structures made of arched framing and plastic. Unlike caterpillar tunnels, they are semi-permanent buildings. You can use hoop houses all year, but they're best suited for gardens and mid-sized crops.

Caterpillar tunnels and hoop houses are similar because they have sturdy internal support. However, caterpillar tunnels use anchored ropes for support. Hoop houses have strong enough frames to stand on their own. 

Protect your plants from harsh sunlight! Check out our selection of shade cloth!

Think of a caterpillar tunnel like a large tent. Despite the internal framework, it still needs extra external support. On the other hand, Hoop houses are the low-tech version of greenhouses. 

Hoop houses often rely on passive heating and ventilation. The inside of the building is warmed or cooled by the outdoor weather conditions. Roll-up walls control airflow. 

Some hoop houses may have ridge vents that enable airflow. You can build a hoop house right on top of your crops - it doesn't need a solid floor. You still have the choice to use pots for plants, though. 

Gardners often water plants by hand, drip irrigation, and smaller sprinkler systems. Electricity is a rare feature inside a hoop house. The buildings often don't have the infrastructure for electrical systems.

Need to protect your goods and materials during storage or shipment? Shop our selection of high-quality pallet covers!

A hoop house usually has a half-circle shape. Larger ones can have peak frames and are called high tunnels. Hoop houses are cheaper than traditional greenhouses, but they don't offer as much protection. 

Greenhouses

Greenhouses are the more durable, permanent counterpart to hoop houses. They may be similar to hoop houses, but the former can have greenhouse plastic, polycarbonate, and glass covers.

Greenhouses enjoy more high-tech heating and cooling options also. Active heating and ventilation are often built-in to these buildings. Some greenhouses even have furnaces and boilers to provide extra heating. 

Need to protect your farming or recreational vehicles? Check out our selection of heat shrink wrap!

Greenhouse gardeners may water plants using the same hoop house methods. You don't have to do this manually, though -greenhouses can accommodate automated systems. 

A greenhouse offers better protection because it's more enclosed than a hoop house. They have foundations and end walls, so pests and soil disease have a harder time infiltrating your crops. 

You'll have to spend more money to build a greenhouse because you're constructing a permanent building. On top of that, your greenhouse may need plumbing and electrical systems for its automated features. 

What Is A Greenhouse End Wall?

A greenhouse end wall is what it sounds like. The end walls are the walls at each end of the building. The end walls are where you'll find the entry, as well as optional items like vents and fans. 

The difference between hoop houses and greenhouses is that hoop houses don't need foundations or complex end walls. All hoop houses need are arch framing for the main structure and metal frames for end walls. 

Components Of Greenhouse End Wall Design

Greenhouse end wall design is probably the best part of building somewhere to put your gardens and crops. There's not a lot of wiggle room in designing the main building, but you can customize the end walls a bit. 

After all, you have to consider what your end walls will look like and what you need them to do. It would be best to consider everything about your end walls before construction begins. 

End Wall Covering

DIYing your greenhouse or hoop house enables you to choose your end wall cover. Different covers come with other benefits and flaws, though. Carefully consider what material suits your purposes. 

Polyethylene Film

Polyethylene is a simple solution for sealing off hoop house end walls. Polyethylene or PE is a lightweight plastic film commonly used as protection from PE film can also withstand UV radiation for years. 

However, this plastic does have its drawbacks. PE film won't offer much strength or durability to your hoop house's overall structure. Polyethylene doesn't have much wind or heat resistance either. 

Aside from this, polyethylene will work fine as an end wall covering if you don't live in a windy or hot location. It's cheap and can offer moderate protection in milder climates. 

Polycarbonate

Polycarbonate is another ideal greenhouse cover. Polycarbonate is easy to use and doesn't require much upkeep. Unlike PE film, polycarbonate is sturdier and can offer more stability for hoop houses. 

When combined with metal frames, polycarbonate-covered end walls can withstand high winds, snow, rain, and other kinds of weather. The material is strong and still offers protection from pests and moisture.

The polycarbonate covering comprises two to three walls with an air pocket between them. This layered defense is why this coverage is more robust than its polyethylene counterpart. Polycarbonate can even strengthen crops.

This strong plastic is an excellent insulator for heat. It's easier to keep plants at a constant, balmy temperature all year round. The polycarbonate can also diffuse light amongst the crops to enable healthy growth. 

Wood

Wood may not sound like a viable covering choice, but it is (arguably) the nicest-looking option. The wonderful thing about wood covering is you can customize it in various ways. 

You can carve in designs, stain, or paint the surface of the wood. Wooden covers have the most downsides out of each material, though. Unlike PE film and polycarbonate, pests and diseases can find their way into the wood. 

If you're willing to do proper diligence, you can keep away harmful elements. Without upkeep, your wooden cover may begin to degrade. Pests and fungi may get into your crops if left alone too long.  

Wooden covers can become problematic for organic crops too. Pressure-treated wood could contain chemicals that can pollute organically grown plants. Wood won't allow light through the end walls either. 

Doors

You need a way in and out of your hoop house. There are two kinds of doors that you can opt for on your hoop house. The first is pass doors, and the second is large doors. Both types of entryways serve different functions. 

Pass Doors

A pass door is the same kind that you enter your house with. Pass doors are simple ways to enter and exit your hoop house. These kinds of doorways are pretty simple to add to end wall framing.

You can opt for lightweight pass doors or insulated ones. The lighter-weight doors make leaving and entering easy and quick, but they don't offer a lot of protection from the outdoor elements. 

An insulated door can do a better job of keeping heat inside and cold air out. Insulated doors are a bit larger and can be a bit harder to open and close. These bigger doors are more on the pricey side as well. 

Large Doors

Large doors come in two categories: sliding and roll-up. Larger doors are, in general, better if you plan to keep gardening tools alongside the crops. You can get your things inside while still maintaining gardens. 

Sliding doors open wide enough to get your equipment in the building and keep your plants safe from the wind and cold. Sliding doors tend to be more insulated than their roll-up counterparts. 

Roll-up doors are cheaper than sliders; you lift them by their handles above the entry. You can automate roll-up doors if you want. This option makes putting your gardening tools away even more manageable. 

Gables And Fans

Gable shutters and fans are optional pieces to add to your end wall if you're looking to add extra ventilation and heat and humidity regulation. Gable shutters and fans can be opened and toggled to provide airflow. 

If you don't want to activate the shutters manually, you can have these portions of the end walls automated. Automated activation would limit the amount of active climate control monitoring you'd have to do. 

How To Build Your Greenhouse End Wall Framing

After you've settled on your hoop house end wall plans, you can get down to the actual construction. First, you need to gather all the tools and materials you'll need to get the job done:

  • Measuring tape
  • Pencil
  • Power saw
  • 2/4 lumber
  • Power rotary tool
  • Hammer
  • Nails

After you've got everything you'll need together, you can begin building the greenhouse end walls. Putting the structure together should be relatively simple, with the greenhouse end wall design process out of the way. 

One thing to keep in mind is that the construction below is for plain greenhouse end walls. These instructions for building a greenhouse end wall don't accommodate extra parts like fans and gables. 

1. Measuring The Frame

The first step in the construction process is to measure the ground frame with the measuring tape. You should divide the total measurement in half and mark this point on the frame with your pencil. 

Measure 1.5 feet on the right and left of the original point and mark these with your pencil. These spots are where the entryway will sit.

2. Cut The Wood And Lumber For Hoop Frame

Your next task is to cut two 2/4 pieces of lumber lengths as tall as the end hoop of your hoop house with your power saw. Your greenhouse height may differ from kit houses.

Be sure to consult your design for the proper measurement. You'll also need to cut curved edges into each lumber piece with the power rotary tool so the hoop frame fits snugly in the wood to add stability. 

3. Aligning The Lumber

The fourth step is to put a lumber piece inside the greenhouse with the curved edge set vertically, pointing upward. This piece of wood needs to line up with the center pencil mark.

Then push the lumber until the above hoop pipe meets the curved edge. Once aligned, you can nail the wood to the inside of the ground frame. You should repeat this step on the opposite side of the entryway. 

4. Beginning To Frame The Door

Place lumber between the two installed wood pieces near the hoop piping. Nail lumber to both sides of the doorway and repeat this step slightly below the first horizontally placed wood. The bottom plank is the top of the door. 

5. Break Out The Plumb Bob

Now you need to find the middle of the left side of the hoop pipe. You’ll start from the top of the hoop house and the point where it connects with the ground frame. This spot is where you’ll attach your plumb bob. 

Let the plumb bob settle vertically and mark this area. You need to repeat this step on the right of your entryway. 

6. Continuing To Strengthen End Wall

Take another curved edge piece of wood and place it facing up at the previously marked left point. Make sure the wood lines up with the ground pencil mark and press until the hoop piping slides into the curved edge. 

Next, nail the wood to the ground frame. Repeat the process with another curved edge lumber piece on the doorway’s right side. 

7. Further Reinforcing The Frame

At step seven, you’ll need to horizontally place lumber between the left of the door and side flanks at half the greenhouse’s height. Nail the wood to the vertical planks and repeat on the right side of the structure. 

8. Here’s The Final Step

Nail a lumber length between the ground frame’s interior and the upper left side of the vertical lumber. You should repeat this step on the right side of the end wall. Once done, the wall should be sturdy and solidly built.

Need Help With Your Greenhouse End Walls? 

There are various types of greenhouse-like structures. Greenhouses and hoop houses, in particular, are very popular. The significant difference is that hoop houses are easier and cheaper to DIY build. 

Greenhouse end wall design can come in handy when building and designing and building greenhouses and hoop houses. When constructing either building, one thing to keep in mind is that the end wall needs to be sturdy. 

If you need any more greenhouse-related assistance, you can contact us at Farm Plastic Supply.

Shop Our Selection Of Farm, Garden, & Agricultural Products!

4 Year Clear UV Resistant Greenhouse Plastic

4 Year UV Resistant White Greenhouse Plastic

Panda Film/Light Deprivation Covers

Silage Tarps

Vinyl Sheeting

Weed Control Products

Landscape Fabric

Shade Cloth

Hydroponic Plastic

Construction Plastic

Silage Bags

Grow Bags