
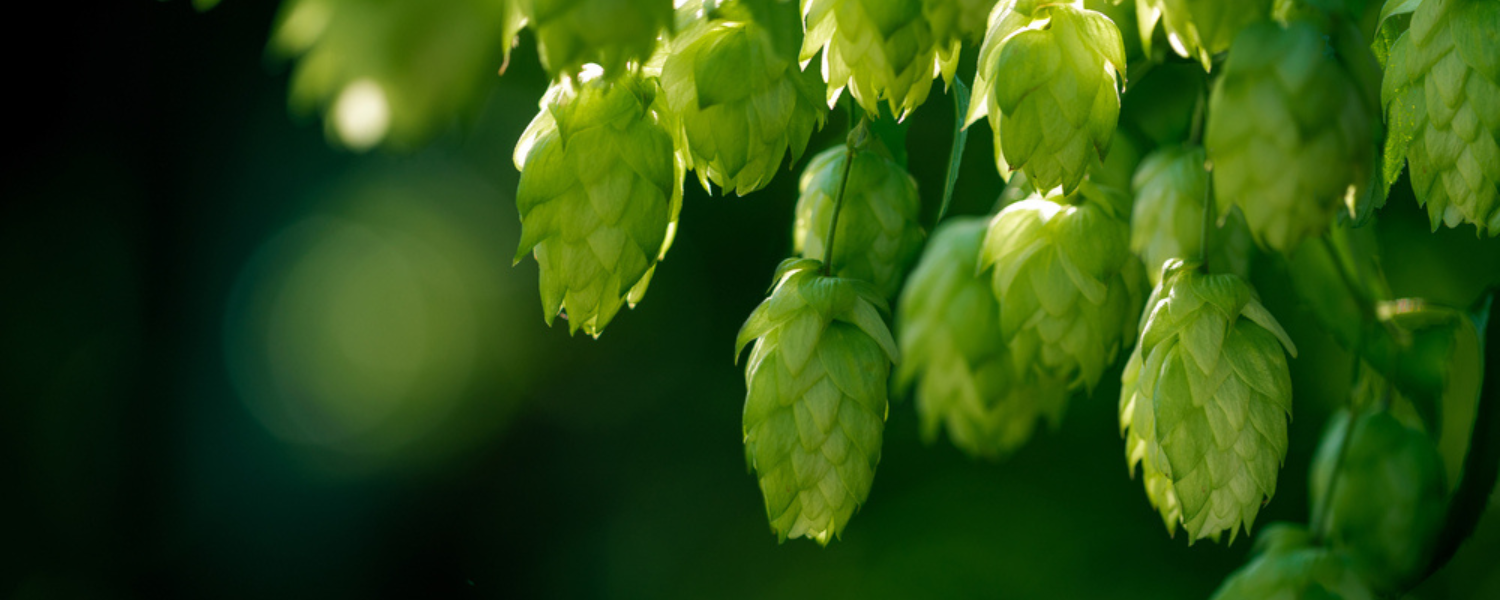
If you are a beer lover, you have probably heard of hops. Hops is a key ingredient in beer, and it gives beer its bitterness and aroma. Hops are the flowers of the hop plant, Humulus lupulus. They are used primarily in brewing beer, but they can also be used to make cider, wine, and herbal teas.
The hop plant is a climbing vine that is native to Europe and Asia. It was first brought to North America by European settlers in the 1600s. Hops were traditionally used as a preservative in beer, as well as for their bitter flavor. Today, hops are used mainly for their flavor, aroma, and bitterness.
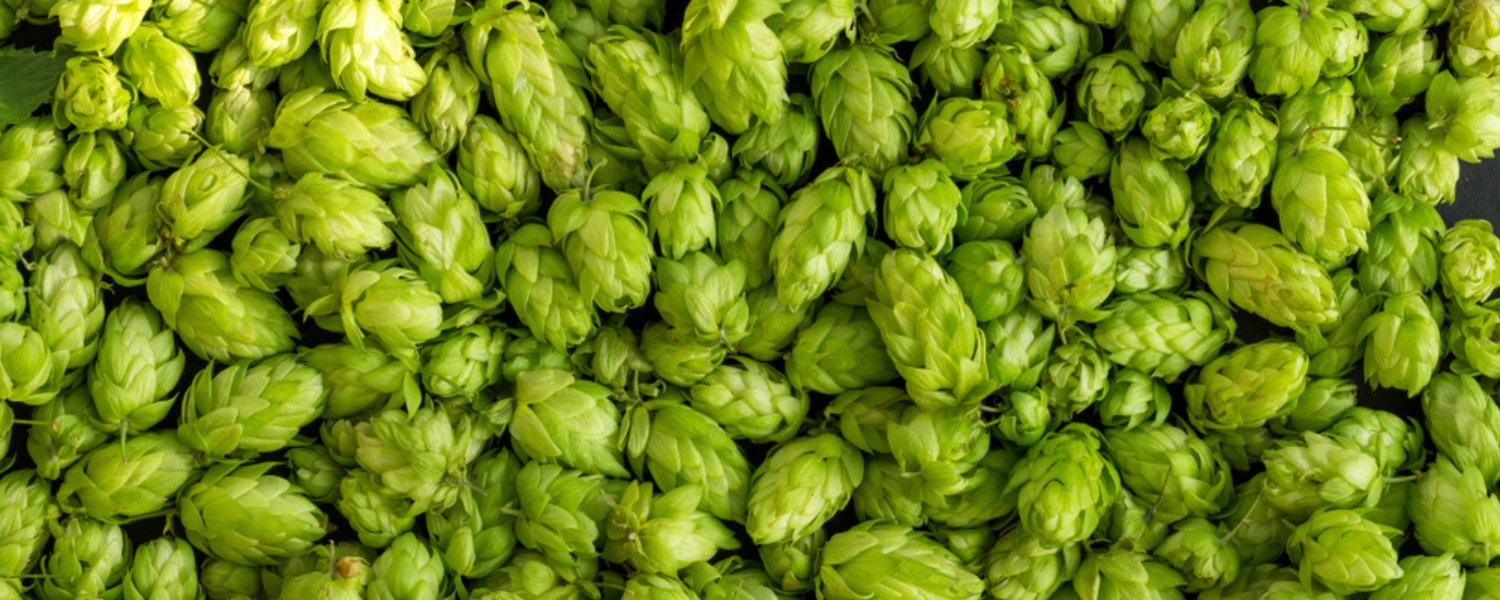
There are many different varieties of hops, each with its own unique flavor profile. Some common varieties include Cascade, Centennial, Chinook, Citra, Columbus, and Mosaic. Hops are typically added to beer during the brewing process; they can be added at different stages depending on the desired effect.
For example, early additions of hops will add bitterness while later additions will add flavor and aroma. Hop flowers are also sometimes used as a natural source of food coloring. So, if you are curious about this key ingredient in beer and want to learn how to grow hops, keep reading!
Growing Conditions For Hops
Light & Temperature
Hops prefer a cool climate and lots of sun. They should be planted in early spring, as they require a long growing season to mature. In terms of light requirements, hops need at least six hours of sunlight per day.
They also prefer warmer temperatures during the daytime and cooler temperatures at night. In terms of temperature requirements, hops need daytime temperatures that range from 60-75 degrees Fahrenheit and nighttime temperatures that range from 50-60 degrees Fahrenheit.
Soil
Hops require a well-drained soil with a pH between 6.0 and 8.5, and prefer a sunny location with plenty of air circulation. Hops do not do well in waterlogged soils, as this can lead to fungal diseases.
The best way to prepare the soil for planting is to add compost or aged manure to improve drainage and fertility. If the soil is too dry, hop plants will produce fewer flowers (which are used to make beer). If the soil is too wet, the roots may rot.
Water
Hops have a root system that is very sensitive to drought, so it is important to water them regularly and deeply. Hops need about 1 inch of water per week, and they should be watered at the base of the plant rather than from above.
If the leaves of the plant start to wilt, that is a sign that the plant is not getting enough water. Hops do not like to be waterlogged, so it is important to make sure that the soil drains well. Overwatering can lead to problems with mildew and other diseases. When in doubt, it is better to err on the side of too little water rather than too much.
Nutrients & Fertilizer
For anyone wanting to grow hops, it is important to use the best nutrients and fertilizer possible to ensure a healthy crop. Hops are a key ingredient in beer, so the quality of the hops is essential. There are a few things to keep in mind when choosing nutrients and fertilizer for hops.
First, hops need a lot of nitrogen to grow well. A good source of nitrogen for hops is ammonium sulfate. Second, hops also need plenty of phosphorus and potassium. A good fertilizer for hops should contain these three elements in a ratio of 10-10-10. Finally, it is also important to make sure that the soil around the hop plants is well aerated.
This can be achieved by adding organic matter such as compost to the soil. By following these guidelines, you can be sure that your hop plants will have the best chance of growing healthy and produce a high-quality crop.
How Long Do Hops Take To Grow?
Hops are typically planted in the spring and will begin to grow rapidly within a few weeks. However, it takes around 3-4 months for the plant to mature and produce its cones. Once the cones have been harvested, they can be used immediately or dried and stored for future use.
Because of the hop's long growing season, commercial growers typically plant several varieties that mature at different times. This ensures that there is a continuous supply of fresh hops throughout the year.
How To Plant & Grow Hops
Choose A Sunny Location
Hops need full sun to grow well, so choose a location that gets at least 6 hours of direct sunlight each day. If you live in an area with hot summers, you may want to choose a location that gets some afternoon shade to prevent the plants from getting too much heat.
Prepare The Soil
Hops prefer well-drained, fertile soil. If your soil is heavy or clay-like, you will need to add some organic matter, such as compost or manure, to improve its drainage and fertility. You should also have your soil tested before planting to make sure it has the correct pH level for hops (between 6.0 and 7.0).
Plant The Rhizomes
Hops are usually grown from rhizomes, which are pieces of the plant's root system. You can purchase hop rhizomes from a nursery or online retailer. Plant the rhizomes in early spring, about 4 weeks before the last frost date in your area.
Train The Vines
As the hop plants grow, they will produce long vines that can reach up to 20 feet in length. To keep the vines under control, you will need to train them to grow up a support system, such as a trellis or lattice. You can do this by gently wrapping the vines around the support as they grow.
Harvesting & Storing Hops
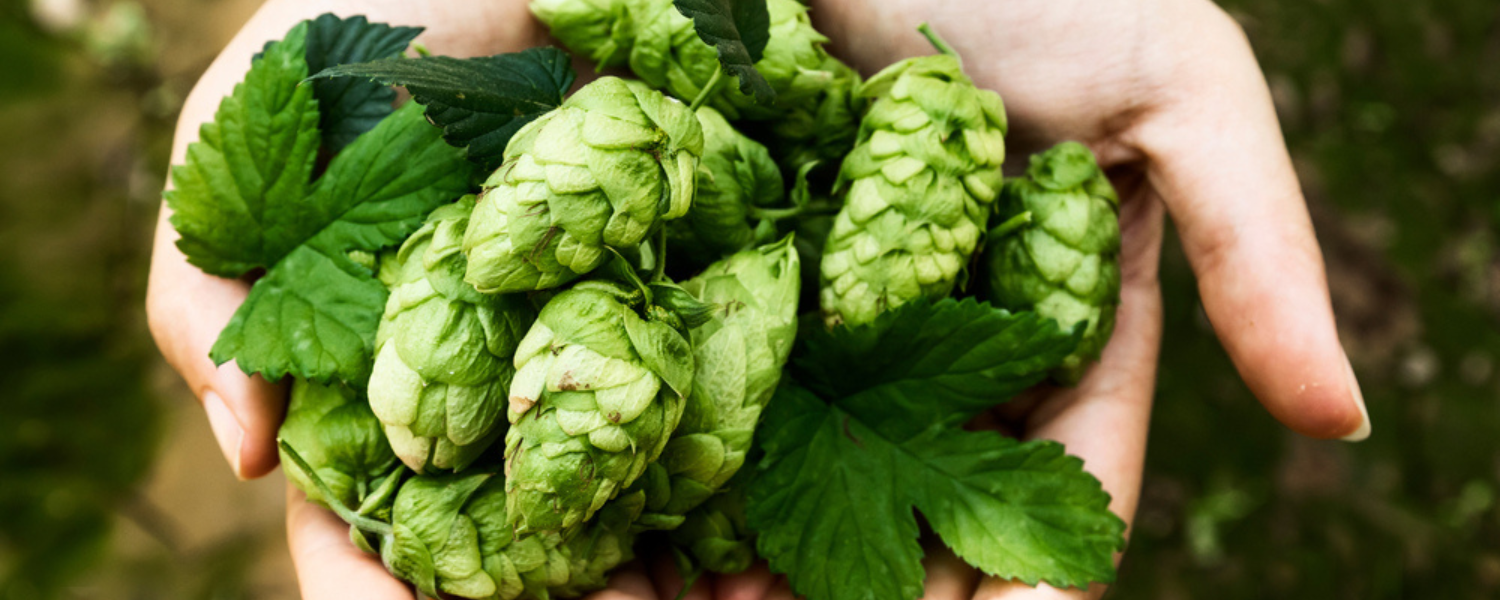
Harvesting
Hops are typically harvested in the late summer or early fall. The cones should be dry and papery to the touch. To harvest hops, cut the bines about 18 inches from the ground using pruning shears. Then, lightly shake or brush the cones to remove any loose leaves or debris.
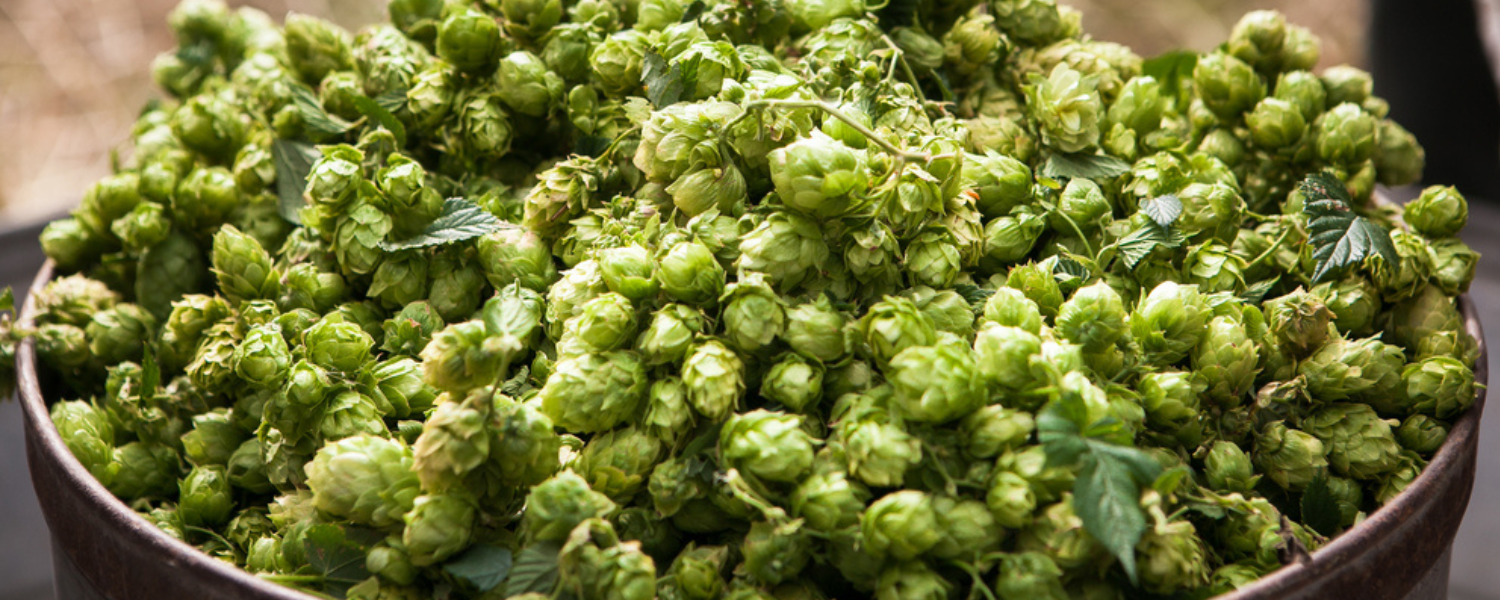
Storage
Once the hops have been harvested, it's important to store them properly to ensure that they retain their flavor and aroma. Hops should be dried as soon as possible after harvesting, as moisture can cause them to spoil.
The best way to dry hops is to spread them out on a baking sheet and place them in a cool, dry place. Once they are dry, they can be stored in an airtight container in the refrigerator for up to six months. If you're looking for a longer-term storage solution, hops can also be frozen. Just make sure to place them in a freezer-safe bag and squeeze out as much air as possible before sealing the bag.
Common Pests & Diseases That Affect Hops
Pests
Hop plants are susceptible to a number of pests, which can cause problems for farmers and brewers alike. One of the most common pests is the hop aphid, which feeds on the plant's leaves and flowers.
This can cause the plant to produce fewer hops, and the resulting hops may be smaller in size and lower in quality. Another common pest is the spotted wing Drosophila, which lays its eggs inside the hop flower. The larvae feed on the flower's pollen, stamen, and ovules, causing the flower to wither and die.
This can reduce yields and result in smaller, less flavorful hops. You can use pesticides to control these pests, but they must be careful not to damage the plants or contaminate the hops.
Plant Disease
The primary disease that affects hops is powdery mildew. Powdery mildew is caused by a fungus that thrives in warm, humid conditions. The fungus covers the leaves of the plant with a white or gray powdery substance. Powdery mildew can reduce the yield of hops and cause the plants to produce less flavorful cones.
There are several ways to control powdery mildew. Many commercial hop growers use fungicides. Homebrewers can also take steps to prevent powdery mildew, such as avoid wetting the leaves of the plant and providing good air circulation.
Review: How To Grow Hops
Hops are a climbing plant that can grow up to 25 feet in a single season. They are typically propagated from rhizomes, although cuttings can also be taken from the main stem. Hops prefer a sunny location with well-drained soil and plenty of organic matter.
Once established, hops will need regular watering and fertilization to produce a large crop. Hop cones are typically harvested in late summer or early fall. To harvest, the main stem is cut and the hop bines are gathered into bundles.
The hop cones can then be dried and stored for later use. When ready to use, the hop cones are boiled in water to release their flavor and aroma. With a little care, hops can be easy to grow and a wonderful addition to any kitchen garden.